How to Master the Meringue Pie Crust
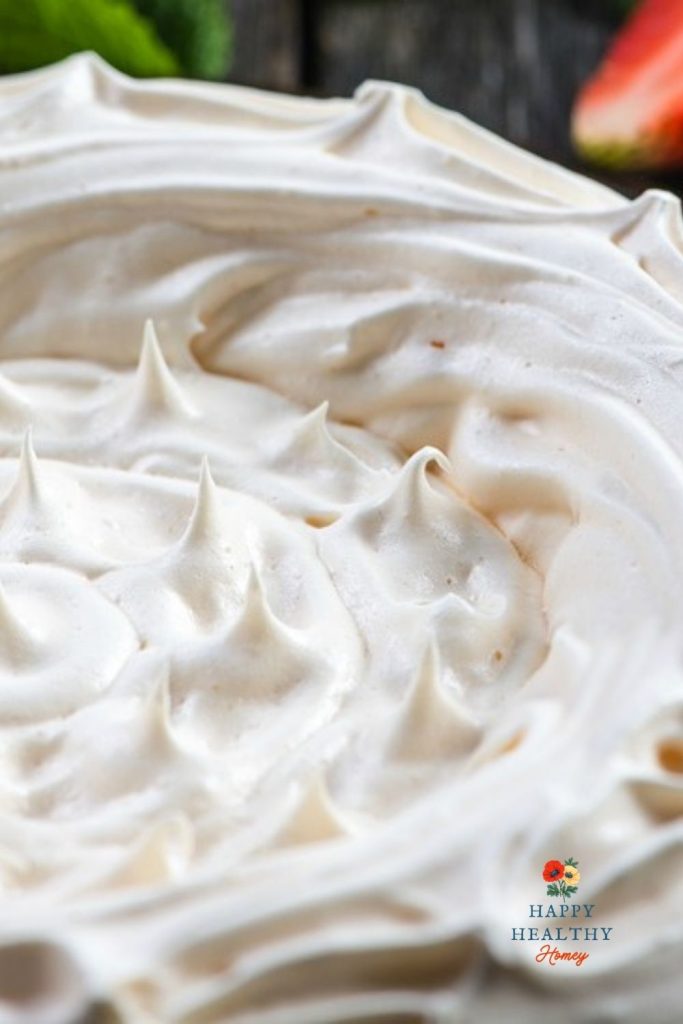
Meringue pie crust is one of my favorite crusts to make. With just three simple ingredients, this naturally gluten-free shell turns into something truly special—light, crisp, and absolutely beautiful when filled with a creamy filling.

Now, I’ll be honest… it can feel a little intimidating the first time you make it. But once you understand a few key tips, it becomes one of those recipes you’ll come back to again and again.
Let me walk you through it.
Use Glass—and Grease Well
A glass pie plate works best for a meringue crust. It helps the crust bake evenly and gives you a better view of that beautiful golden finish.
Be sure to grease it well with unsalted butter, making sure to cover the bottom and sides. Don’t be shy here—this helps the crust release cleanly.
Bake Low and Slow
Preheat your oven to 275°F. Meringue isn’t something you want to rush.
If you have an oven thermometer, this is a great time to use it. A steady, accurate temperature makes all the difference.
Bridget’s Kitchen Tip (Foolproof Meringue Success)
Before you begin, make sure your bowl and beaters are completely clean and free of any grease. Even the smallest bit of oil or residue can prevent your egg whites from whipping properly. I like to give mine a quick wipe with a little vinegar or lemon juice—just to be safe.
Do Not Underbeat Egg Whites
This is where the magic begins.
Using a mixer on high speed, beat your egg whites until they are stiff and glossy. When you lift the beater, the peaks should stand tall without folding over.
If they’re soft or droopy, keep going—you’re not there yet.
Bridget’s Kitchen Tip
I’ve learned over the years that meringue behaves best on dry days. If there’s moisture in the air, it can turn a perfectly crisp crust a little sticky. Don’t let that discourage you—it will still taste wonderful—but when you can, bake meringue on a nice, dry day for that perfect texture.
No Peeking
This might be the hardest step of all.
Once your meringue is in the oven, resist the urge to open the door. Meringue needs a consistent temperature to properly “dry out,” and opening the oven lets that heat escape.
Trust the process. It’s doing its thing in there.
Let It Cool in the Oven
When the baking time is up, turn off the oven and leave the door closed. Let the crust cool inside for about 45 minutes.
This gentle cool-down helps prevent cracks and keeps the texture just right.
After that, remove it to a wire rack and let it cool completely. I like to loosely cover mine with a clean dish towel while it finishes cooling.
Protect It Overnight
If you’re making your crust ahead of time, keep it in a dry place at room temperature. Avoid covering it tightly with plastic wrap, as that can trap moisture and make the crust sticky.
A light cover—like a clean towel—is just right.
Choose Your Filling Wisely
Meringue crust loves a creamy, stable filling.
Think along the lines of chocolate mousse, lemon filling, or a thick vanilla cream. Try to avoid anything overly watery, as moisture is not a friend to this delicate crust.
Ready to Make It?
If you’re ready to try this meringue pie crust for yourself, you’ll find my full recipe—along with my Dark Chocolate Angel Pie (it truly is to die for!)—inside my cookbook, Your Gluten-Free Pie Tin.
It’s one of my favorite desserts to make when I want something a little special without a lot of fuss.
Get your copy of Your Gluten-Free Pie Tin here.
There’s something a little special about pulling a meringue crust out of the oven—light as air and made from just a few simple ingredients.
From my happy, healthy home to yours,

Save These Meringue Baking Tips for Later!
Save this for Your Next Baking Day!